Joining
Make/Use garments have been joined using a range of techniques; hand stitching, machine stitching and needle felting.
Once pre-finished, the fabric flat is cut and assembled according to the design decisions made by the maker/user. Again a variety of seam joining options is available, including machine and hand stitching. The Make/Use display collection also includes a coat that uses needle-felting as a joining technique.
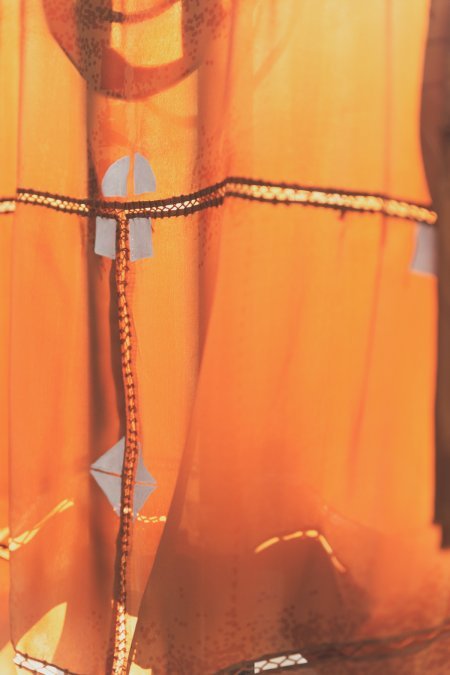
A key feature of the Make/Use garments is their ability to be re-set and re-made. In some instances a hand-stitching technique, called an insertion stitch, is used to facilitate this re-joining. The insertion stitch is relatively simple to implement and is both functional and effective to look at, drawing the eye to this detail. It forms a kind of conspicuous mending, borrowing from the Japanese concepts of kintsugi and kintsukuroi: the art of the beautiful repair.
Aside from the three techniques described experienced sewers and pattern makers can use a conventional seam allowance, however consider the impact on the pattern and seam lengths before cutting.
How to join a Make/Use garment
Any of these methods can be used - they are just a start.
Hand Stitching
The insertion stitch is a vintage hand stitching technique which allows two edges to be closed without an overlap and leaves a narrow gap between the two edges.
Machine Stitch
Machine stitching can work in much the same way as hand stitching except will be many times faster. The wider the stitch the stronger the join will be although with an overlap a straight stitch can be used instead.
Needle Felting
Needing felting can be used to join protein based fabrics together such as silk and wool using wool fibres and a notched needle tool. The tool forces wool fibres through the fabric and it becomes matted together
Insertion Stitch
You will need: Embroidery thread, Needle, Safety pins (optional), Fabric edges pre-finished and ready for joining
Any style of insertion stitch will work, the following is for a stitch called a "twisted faggot" which is one of the more simple ones.
- Using the safety pins close the seam. This holds the edges in place to enable ease of stitching. Ensure the edges are even distributed.
- Thread the needle with desired thread and knot the end.
- You will work from right to left. Join the thread to the bottom edge, move about 1/2 cm to the left and make a stitch into the top edge, inserting the needle towards the gap.
- Move to the left for another 1/2 cm and insert the needle into the lower edge, bringing point out through gap.Work your way to the other end until seam is closed, knot the end.
- Remove safety pins.

Machine Stitch
You will need: Sewing machine with a zig-zag stitch, thread, pre-finished and cut garment flat.
The quickest method of joining a Make/Use garment.
- Thread your sewing machine and load your bobbin with desired thread
- Chose the widest stitch type you have. This is likely to be a zig-zag or satin stitch but there are other more decorative looking stitches that can work equally well. Most domestic sewing machines will stitch 5mm wide, some 7mm and a few high end ones 9mm. Chose which ever is widest on your machine
- Set the stitch so it is reasonably dense - perhaps 1mm between each stitch
- Line up the two pre finished edges of your fabric so they are butted up against each other and their join is centrally located on the presser foot.
- Sew the stitch so that the needle punctures the fabric at the widest point.
If you do not have a zigzag stitch on your machine, instead use a plain stitch and overlap your edges by 5-10mm.

Needle Felting
You will need: Needle felting tool and felting mat, wool fibres, wool or silk based fabric
This can be a dangerous process so please ensure you have an up to date tetanus shot as you might accidentally stab yourself with the needle felting tool, and wool (as a natural fibre) is not sterile.
See here for a good guide:
http://betzwhite.com/2008/05/felted-seam-technique.html#.VcHqwxOqqko
