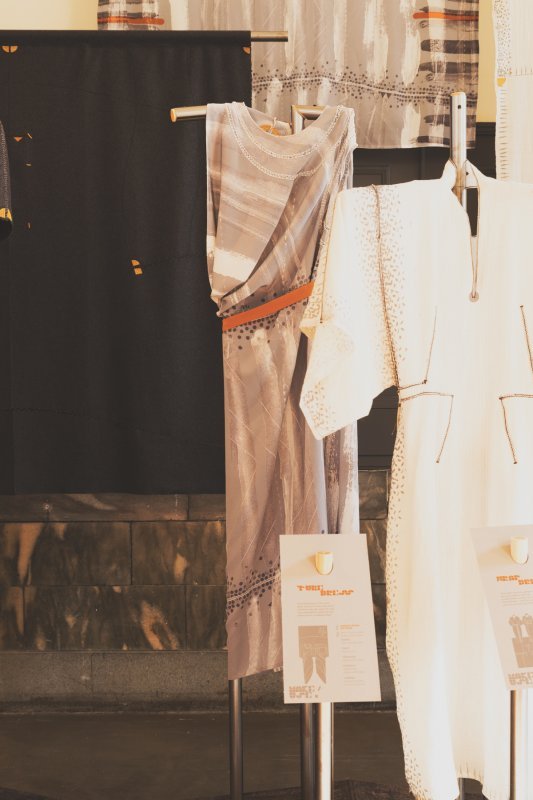
Tube Dress
This Tube Dress is one of the simplest garments in the range - all that is needed to make it is a single straight seam.
Considerations
The width of the cloth is approximately the circumference of the garment around the body. If you want a more voluminous form or are a larger size go for a wider cloth, likewise with you want a more fitted silhouette.
Recommendations
The drape or stiffness of the cloth will alter dramatically the final look of the garment. This design will work bests with a soft fabric with a good drape.
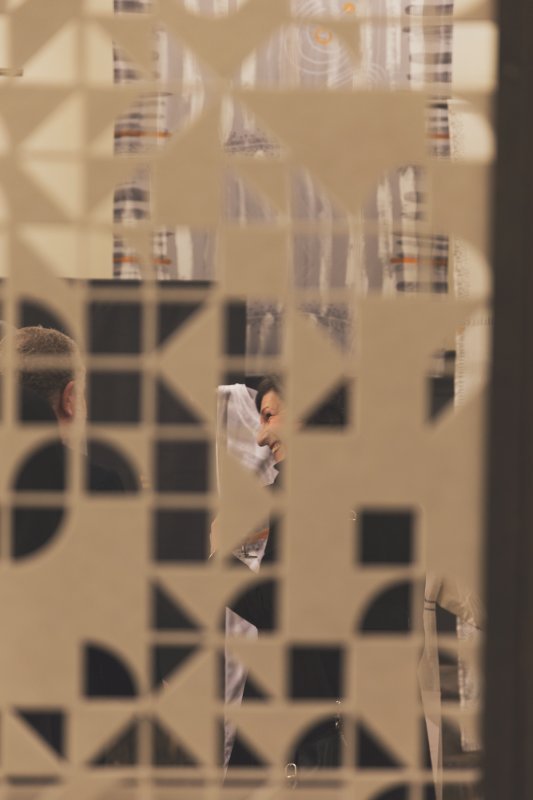
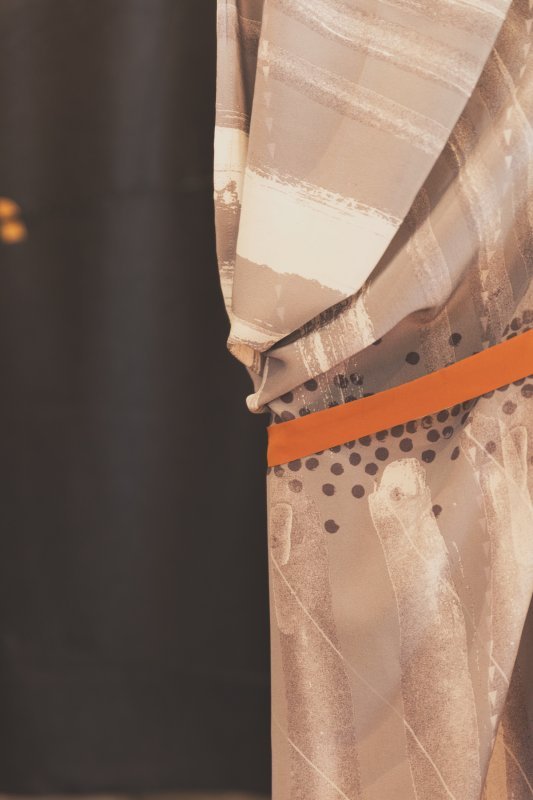
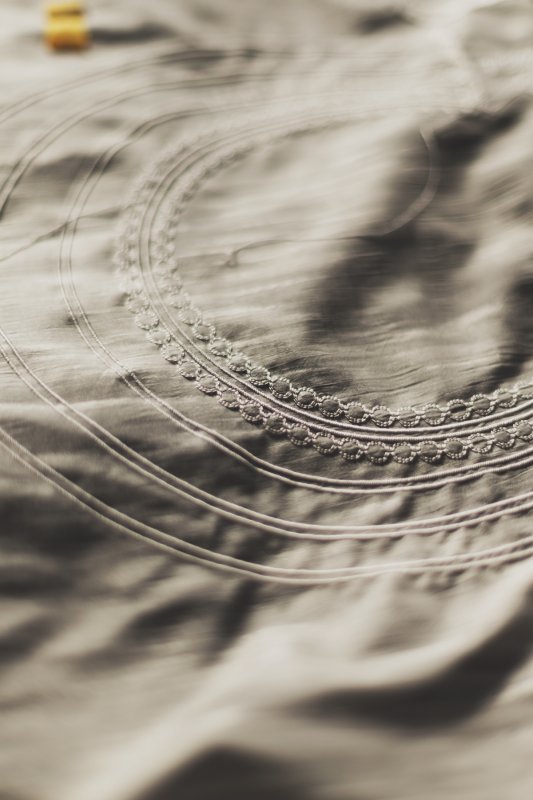
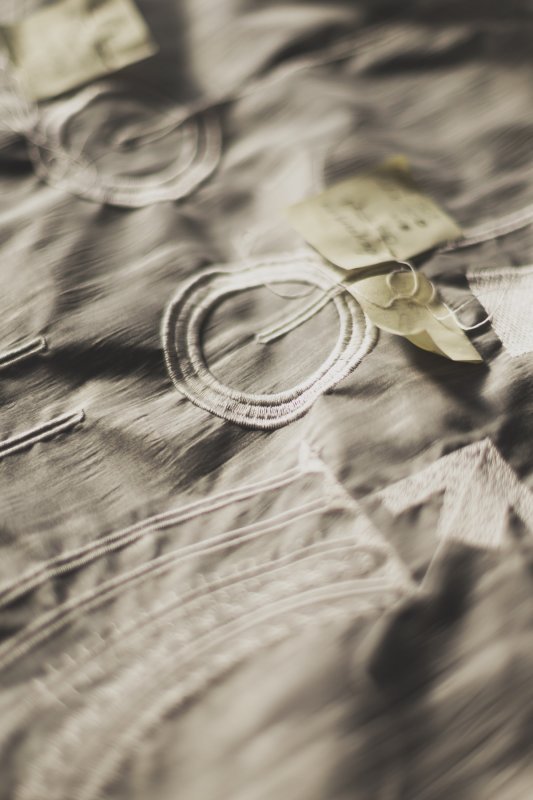
The Tube Dress shown in the photo is made of digitally printed silk crepe de chine. All the edges are pre-finished using digital embroidery, the straight seam is machine stitiched and any additional joins are hand stitched with an insertion stitch. The dress in the photo uses 130cm of 135cm wide Silk Organza. The model is a NZ size 10

Making the Tube Dress
There are three methods of using the Make/Use system - Pattern, Print or Template:
Pattern
Simple line diagram to print onto paper at full scale – the closest to using a traditional dressmaking pattern. Good if you have fabric at the exact width or know how to use software to change the pattern to fit. Available as ai file (Adobe illustrator/Inkscape for modifications), or pdf. Print tiled and stick together, or take to a large format printer.
Print
Screen printing or digital printing files to put the patterns directly onto fabric. Good if you want a printed garment, some of the guide for making the garments are embedded in the print file to enable an easier understanding of the making process. Can be expensive.
Templates
Lasercut templates printed onto rigid paper or card that allow a maker to draw required patterns onto fabric. This is a modular system that enables a Make/Use garment to be made from any width fabric. Low cost if using printed method, great for students of all ages and home sewers.
Making the Tube Dress from a pattern
You will need: 135cm long of ~150cm wide cloth, a pattern printed at 100%
You can print the file as is from the pdf and set your printer settings to 'tile', and 100%, tape your pieces together and you have a full scale pattern. You can also open and modify the pattern in Illustrator, Inkscape or any similar vector based program to fit the width of fabric you want to use. If you do that, be careful to de-select the neckline and armhole before stretching/shrinking it to fit the new width. This pattern can be made from any width cloth, remembering that the width of the cloth determines the circumference of the garment assuming you don’t make any additional modifications to the design such as pleats/gathers etc. Find a fabric you like the look and feel of, make sure it is something you can sew based on your abilities and equipment, and away you go!
Downloads
Tube Dress Pattern PDF
Making the Tube Dress from a print
You will need: 135cm long of ~150cm wide cloth, access to digital print facilities
The attached files were designed for Digital Printing. There are a range of neckline options available with the same base print, including one without an neckline for you to determine as desired. The fabric chosen for printing on will determine the overall look of the garment. The Long Tshirt shown in the images was printed on Silk Organza.
If you like you could modify the print to suit a different width fabric in Photoshop, or take it as a starting point to have a play with other possible prints inspired by the beaituful work done for this project by Greta Menzies. Enjoy!
Making the Long Tshirt from Templates
You will need a fabric of your choice, approximately 150cm long (depending how long you want it). A4/A3 printer or Lasercutter, Paper or card.
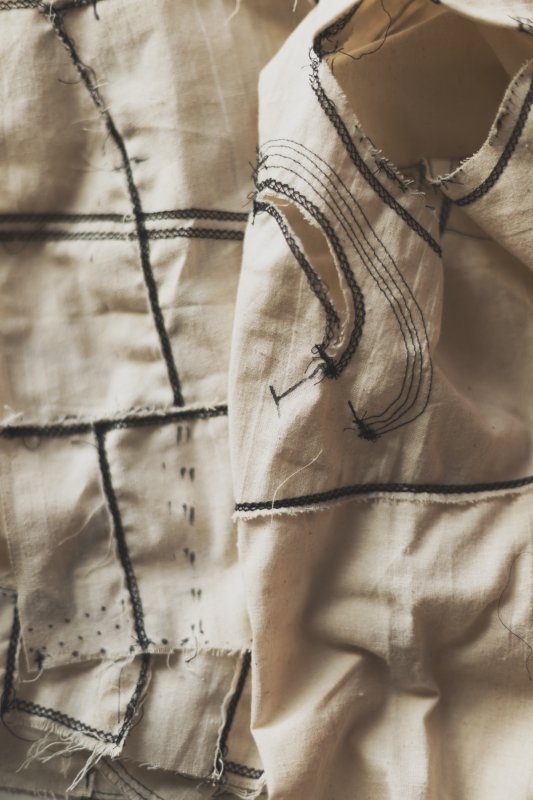
Each Make/Use garment made in this method is unique to both the fabric and the user. The length of a Make/Use Tube Dress can be altered to suit an individual's height or taste; the version shown in the photos places the neckline and armhole at a 45 degree angle to create a draped sleeve; a favourite fabric can be used to make the Tube Dress and drastically alter its appearance; new iterations can be created by combining templates in ways dreamt up by the maker/user. The possibilities are literally endless.
- Using the Tube Dress Grid file as a guide, mark half way between edges of fabric for Fabric Centre Line.
- Measure on your body the desired length of the draped sleeve (B) from your own centre back (spine/nape of neck) down to the desired sleeve hem.
- Measure from your shoulder to waist (C)
- on the Gris the intersection of B and sleeve hem is 45 degrees, B and C is a right angle and C and Fabric Centre Line is 45 degrees. This is not absolutely necessary however and many other variations are possible
- Measure from your shoulder to dress hem, subtract C and mark out (D) to determine finished length of Dress.
- Mark horizontal and vertical lines with tailors chalk.
- The intersection of Fabric Centre Line and Shoulder Line is the key anchor point for the templates
- Body Rotation templates can be placed any where between waist and hem of garment.
Print: Print out using a standard printer the files only A4 and/or A3 paper or card and cut out the dotted fill. Follow the instructions on the pages
Lasercut: Download files and have laser cut on 2mm card according to lasercutter specifications.
- Line up desired templates with grid and follow instructions printed on them.